Recently with the usage of Docker Desktop, there has been a need to use WSL2 to run Docker Desktop on Windows. However because of the various security implications, missing security kernel modules, agents, etc. The idea of possibly creating or rolling our own docker solution by creating a WSL2 Linux image that we control, with all our monitoring and logging tools needed has increased. This blog will explain one possible way to do this.
Docker to create a WSL2 image…for docker…
WSL2 image needs a few things, a created and tar’d up filesystem as well as the binaries and everything a distro needs. One thing to mention is that the Distros that Windows uses ARE CONTAINERS, they’re System Containers not Application containers like Docker. So the simplest way to go about this in my opinion is to turn an app container into a system container!
This is where docker comes in, I will use docker to create a container then I will export that container plus the filesystem and import it into WSL2 as my own distribution. This will allow us to do two things, create a golden image container(fully patched with all our customizations), and let us use the same image as a full-fledged distro, to run anything…including docker!
Prerequisites
- Windows System
- WSL2 installed and configured on that System
- Docker Desktop
- Admin rights probably…
Note: I just realized I could have done this on a Linux system and saved myself some trouble but oh well…
1
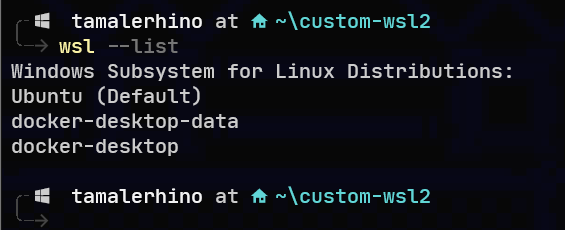
PS C:\Users\tamalerhino> wsl --list
Should return:

Download and Run the container you will want to turn into the Linux distro.
In this case, I will choose RHEL since I know that it does not exist in the Microsoft store.
Where it says tamalerhino-distro feels free to name it whatever you want. This doesn’t matter and it’s only to make my next command easier.
1
PS C:\Users\tamalerhino> docker run -d --name tamalerhino-distro registry.access.redhat.com/ubi8/ubi-init
Should return:

Export container
Next, let’s export the container plus the filesystem created. replace tamalerhino-distro for whatever your container name is.
1
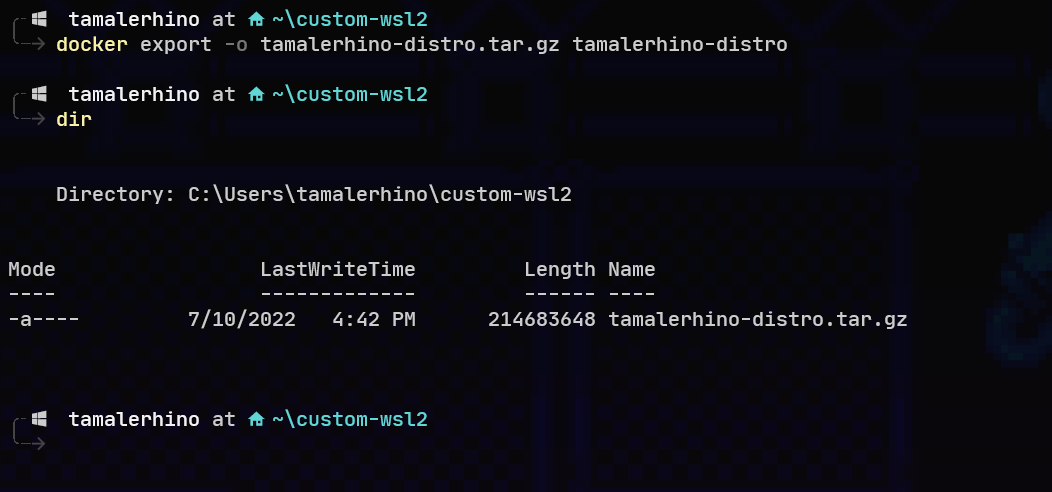
PS C:\Users\tamalerhino> docker export -o tamalerhino-distro.tar.gz tamalerhino-distro
Should return:

Import into WSL
Now we can share this or create a script in order to import it as our own distro.
Where it says tamalerhino-distro , change it to what you want to name it on the system. Also, I told it to mount the distro here “./tamalerhino-distro” ideally you will want to mount it to a location you can lock down.
1
PS C:\Users\tamalerhino> wsl --import tamalerhino-distro ./tamalerhino-distro .\tamalerhino-distro.tar.gz
You can use the following command to show that it created it correctly.
1
PS C:\Users\tamalerhino> wsl --list

Profit
And finally login to it by using the following command.
1
PS C:\Users\tamalerhino> wsl -d tamalerhino-distro
Here I’m just showing you that its redhat. 
Adding Stuff
One of the main issues that we have is that the docker distro isn’t locked down and the only user is the root user, let’s change that
1
2
3
4
yum update -y && yum install passwd sudo -y
adduser -G wheel tamalerhino
echo -e "[user]\ndefault=tamalerhino" >> /etc/wsl.conf
passwd $myUsername
You will need to exit and terminate the running distro
1
2
wsl --terminate tamalerhino-distro
wsl -d tamalerhino-distro
As we can see we have defaulted to a non-root user.

There now you have your very own custom Linux distro runing inside of WLS!
Removing custom distro
If you want to remove the custom imported distro you will have to run the following commands, changing the name tamalerhino-distro the the name of your distro.
1
wsl --unregister tamalerhino-distro
Then you can delete any files using the Remove-Item function.
1
Remove-Item .\custom-wsl2\ -Recurse

